User Administration Web Client
- Kim Rasmussen
- Patrick Ahmed (Unlicensed)
- Kim Rasmussen (Unlicensed)
Note: The user administration web app is currently in experimental stage. Any bug should be reported as normal through the Ceptor Support Portal
Web Client Overview
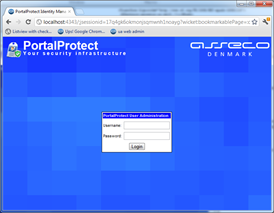
In PortalProtects default distribution, the URL for the user administration management interface is
In the default distribution, no users are added to the system yet so it is required to create users through the interface first. This can be done by accessing the administration login
http://localhost:4343/adminlogin
The default userid and password is admin:password. This gives access to all the areas of the user administration application and users can be created and access rights can be configured.
Configuring New User Administration Users
The first task should be to create a new user for user administration. When logged in as the administrator create a new user by clicking the “Create user” link in the menu on the left.
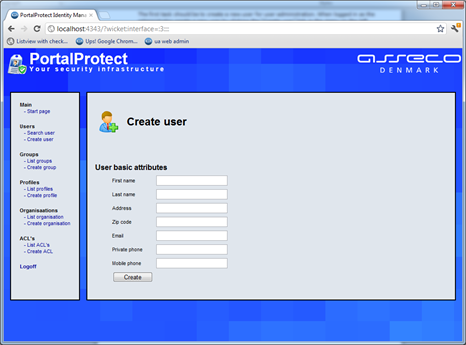
After entering user information click “Create” and the user is created.
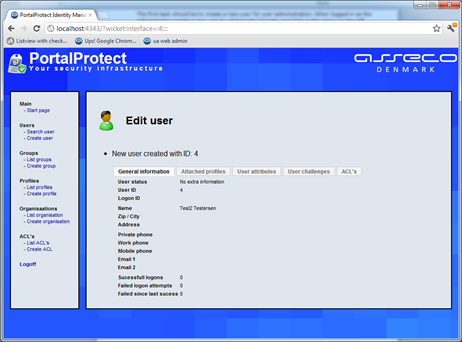
Now a user challenge can be created through the “User challenges” tab. When clicking that there is a link “Add challenge to user”. Currently only a userid/password challenge can be created.
Entering a userid and password will create a unique challenge for this user. The user is now able to log in, but will not have any access rights yet.
To provide the user with access rights first assign the user administration profile to the user. This is done by clicking the “Attached profiles” tab on the user and on the screen click the “Handle attached profiles”. This will allow you to assign profiles to the user.
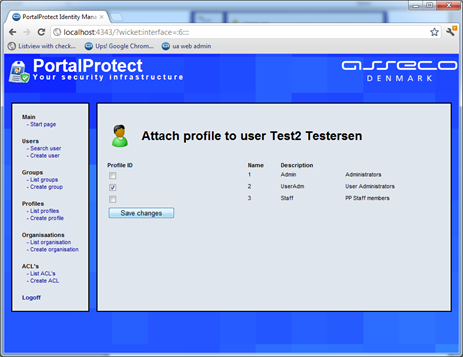
Check the User administration profile and click save.
Since userid and password is the only challenge available at this moment and this challenge has authentication level 20 – please make sure that the group for user administration users has a minimum authentication level of maximum 20. To do this click the “List groups” on the left and click the user administration group. Here change the min auth lvl to 20 if it is not already. Then save the changes.
Now all you need to do is to assign the access rights required.
Depending on how your database is setup you might have ACL’s assigned to the user administration group already. Click the “list groups” link to the left, then select the user administration group and check if you have the requires ACL relations at the bottom.
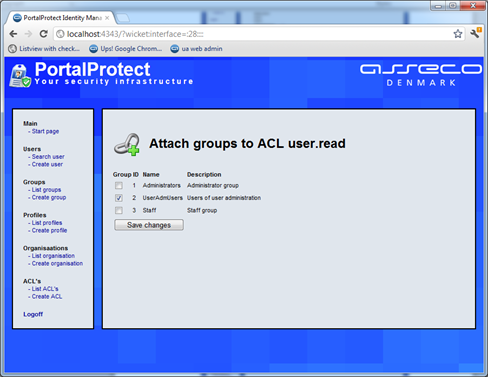
If not, click the list acl link on the left and choose an ACL that should be available to these users. For example “users.read” which will allow the user to search for users. On this screen click “manage attached groups” and check the user administration group.
Then save the data.
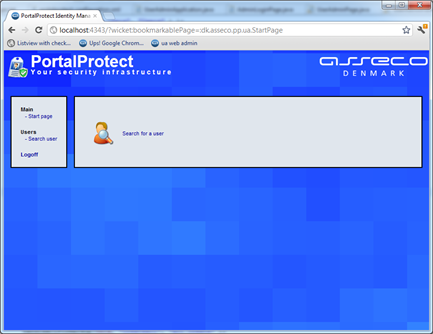
Now the user has access to reading other users information. Click log off to the left and login with the new user.
After logging in with the new user a screen like this is presented.
Additional user rights can be set up by adding new profiles and/or groups and giving access through each individual ACL.
Related content
© Ceptor ApS. All Rights Reserved.